1
Prepare the Surface
Clean and dry the installation area before attaching the shade.

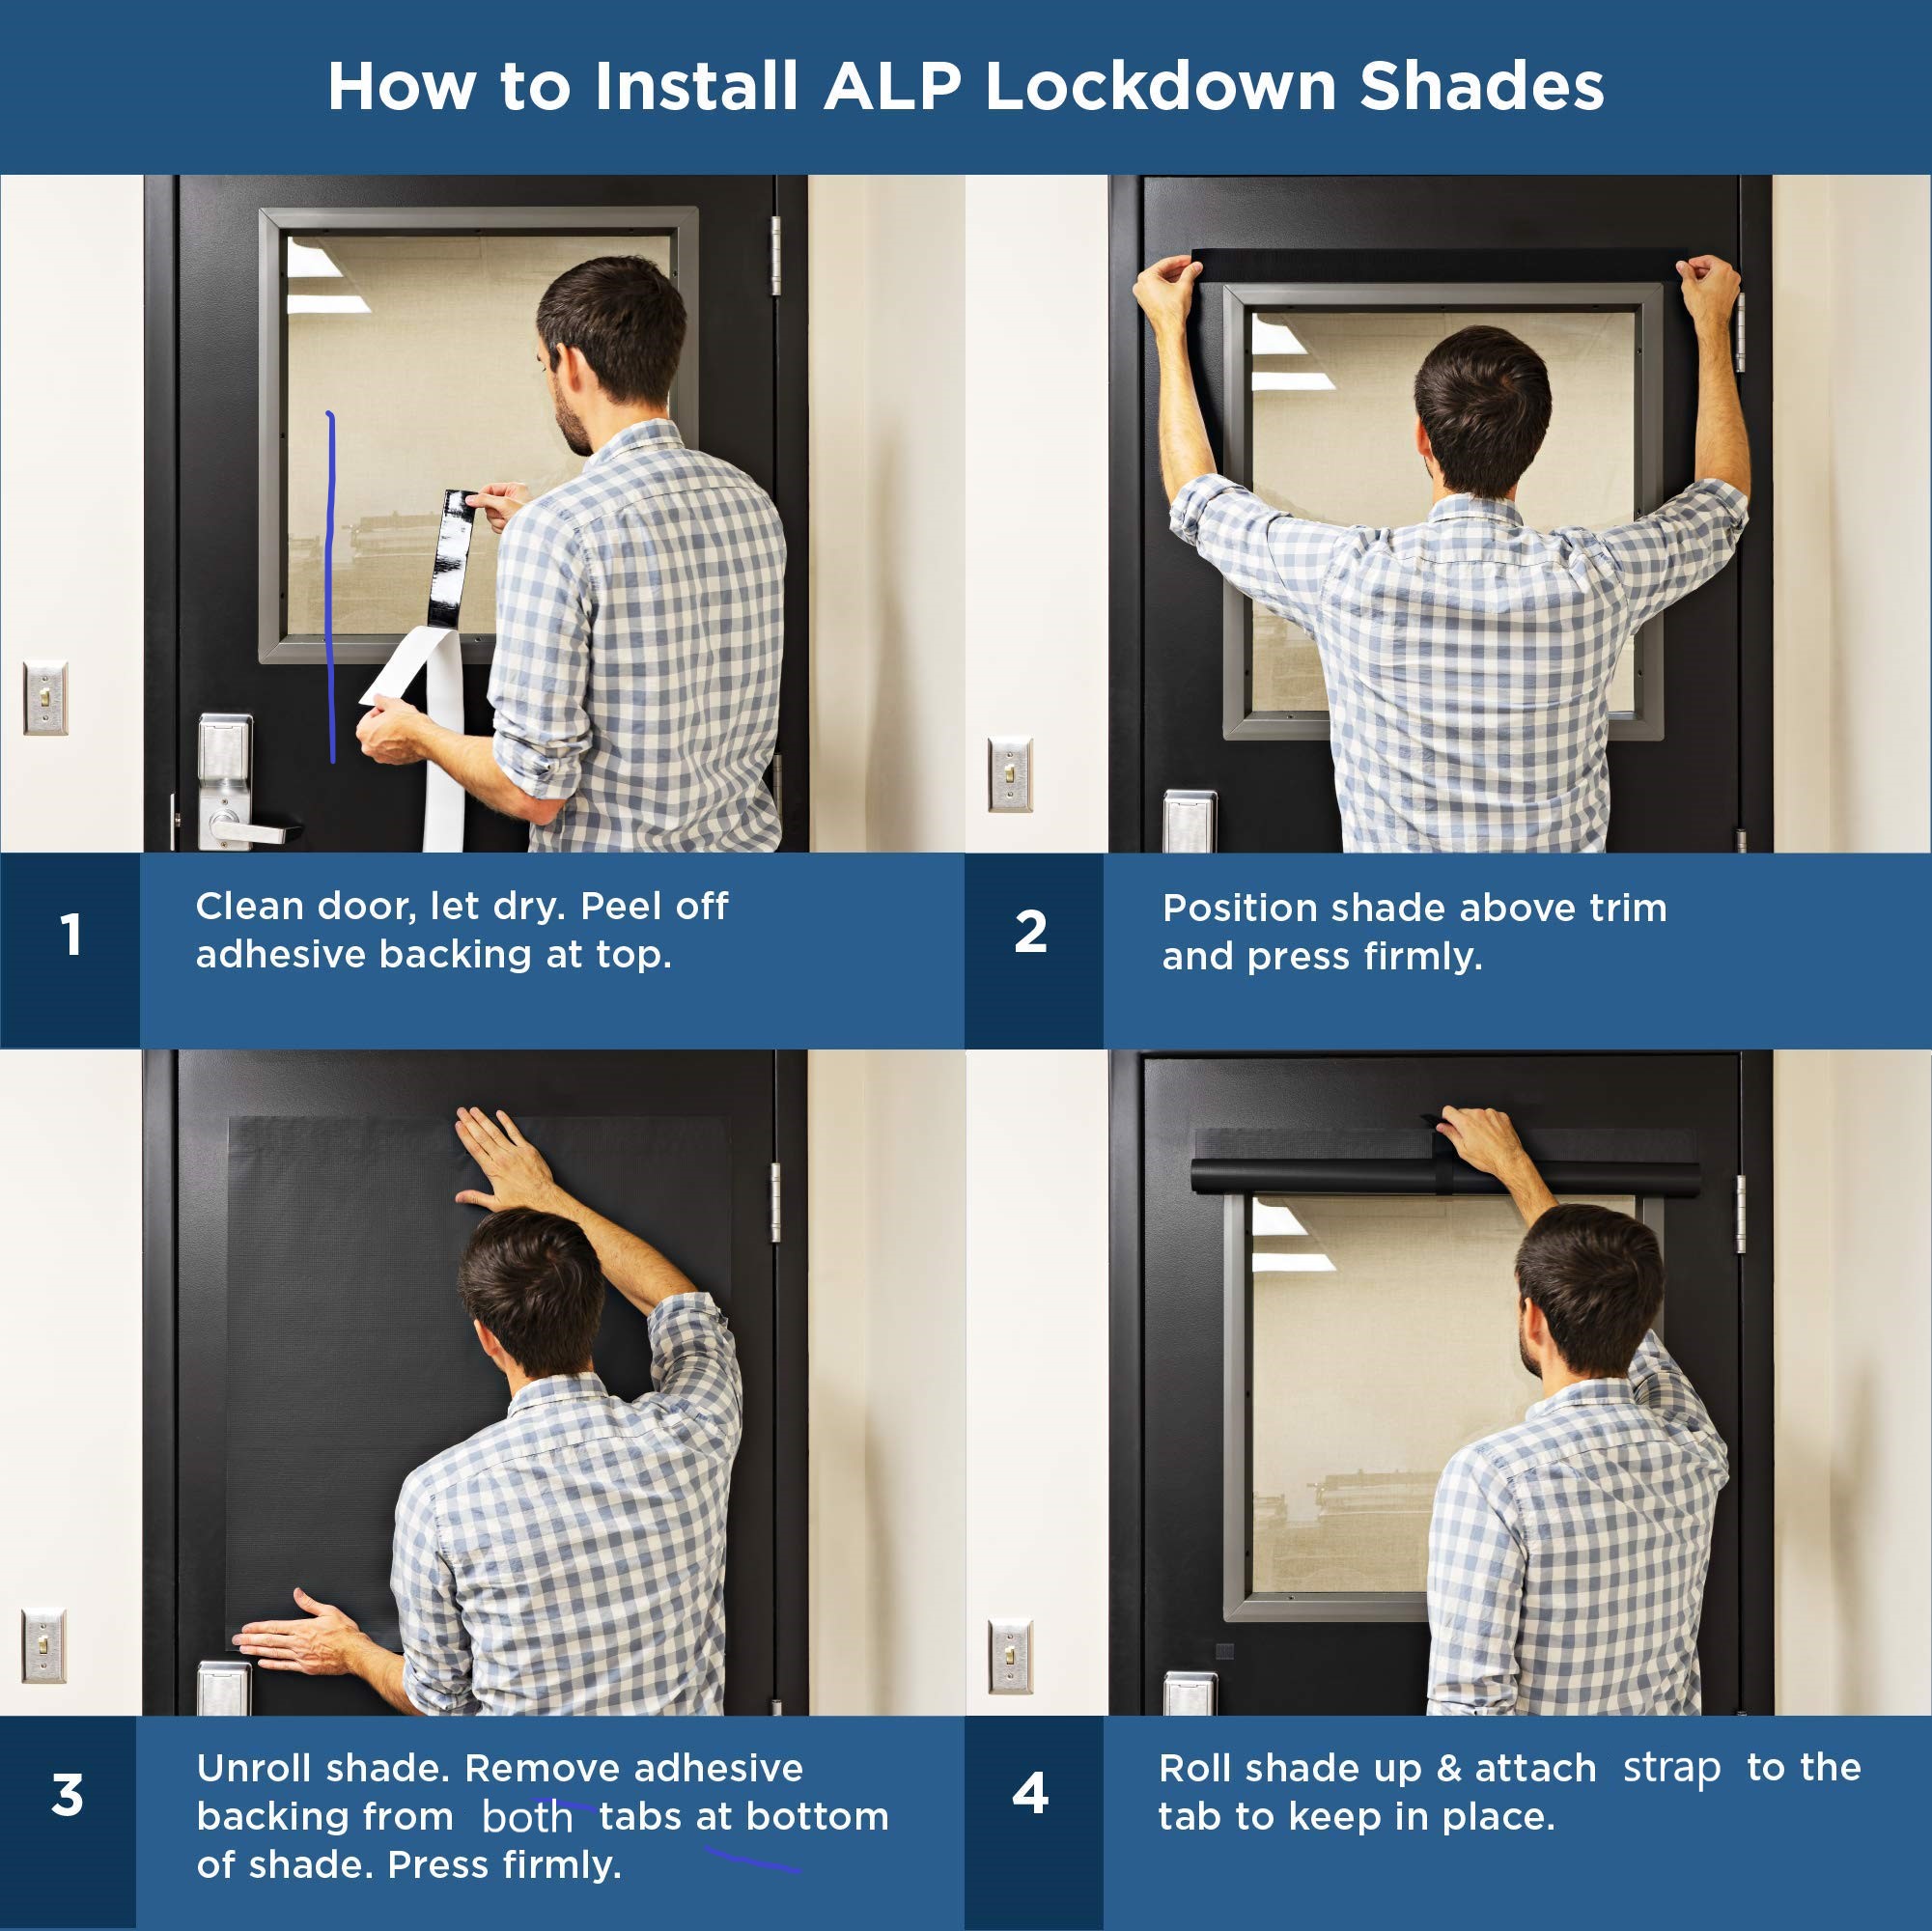
ALP® Lockdown Shades are designed for quick, straightforward installation using our industrial-strength adhesive attachment system.
No special tools. No drilling. No modifications to your classroom door.
Clean and dry the installation area before attaching the shade.
Position the shade above the window trim and press the industrial-strength adhesive firmly into place.
Unroll the shade completely. Remove the backing from the bottom adhesive strips and press firmly beneath the window trim to secure the shade.
Roll the shade back into position and secure it using the attached Quick-Release storage strap.
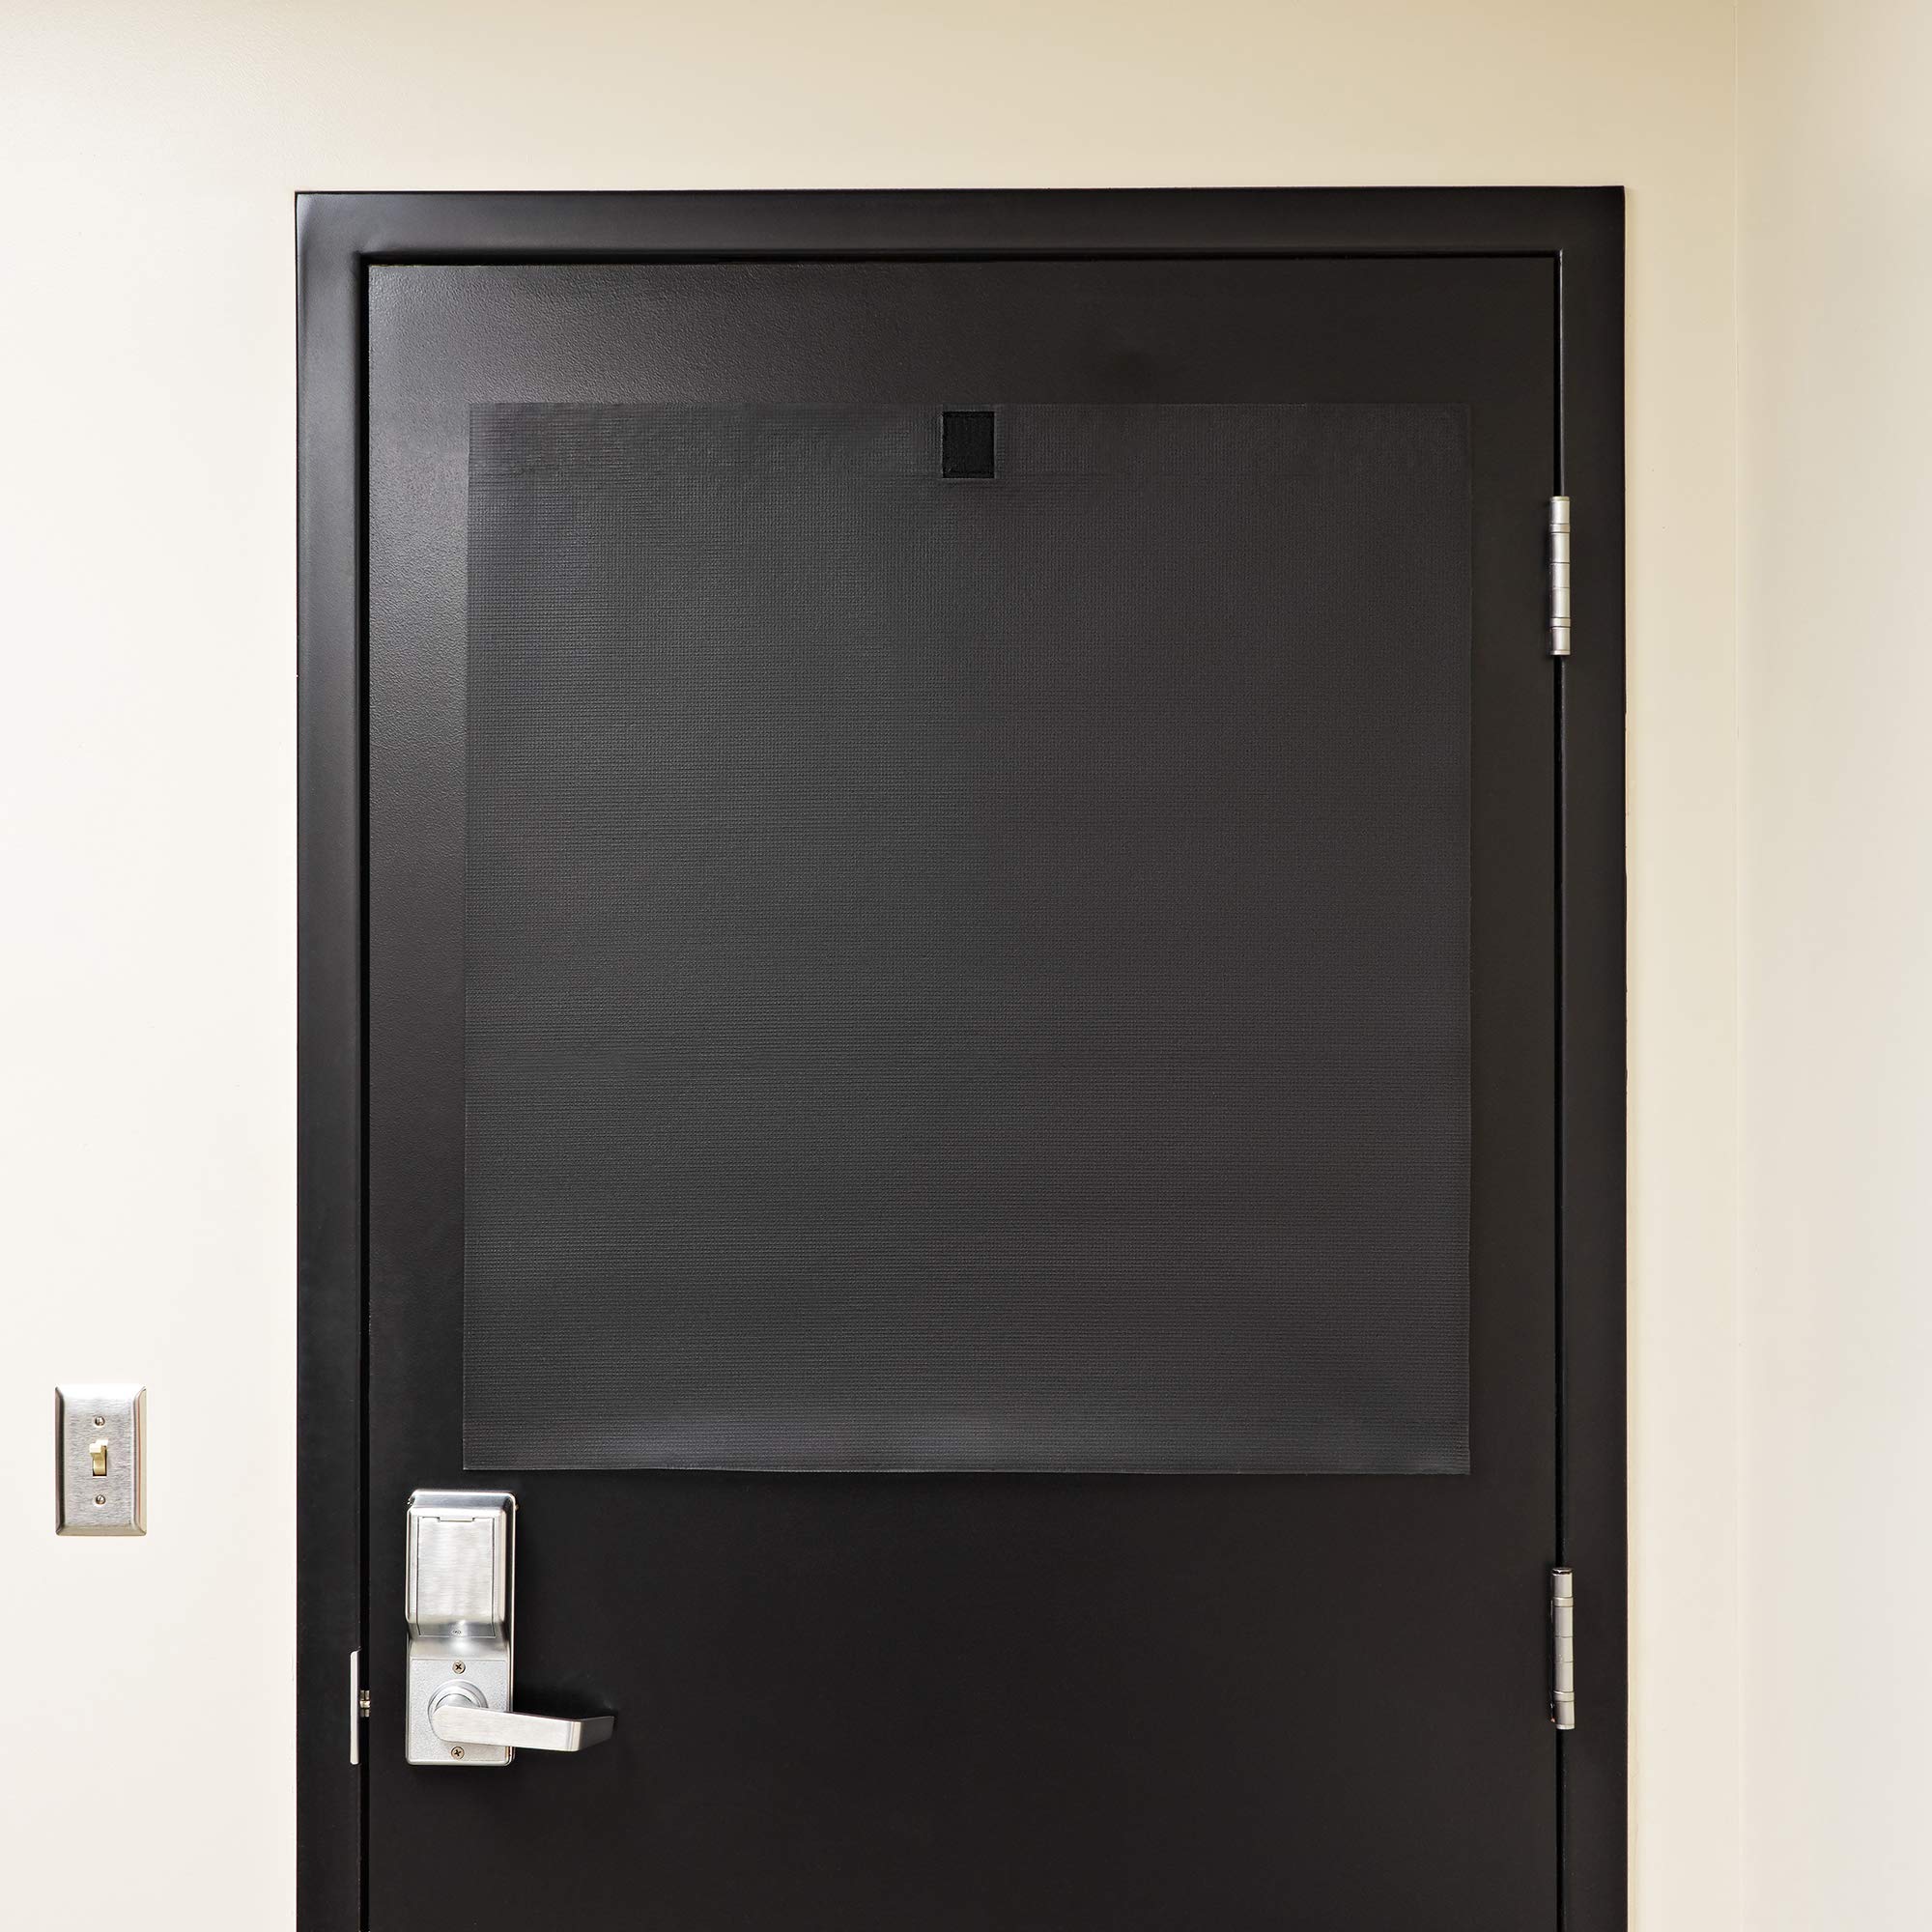
After installation, periodically test your ALP® Lockdown Shade as part of your school's emergency preparedness procedures. Regular testing helps ensure every classroom remains ready for emergency deployment.